Create a tiny editor tool to select a texture with a dropdown in Godot 4.
When creating tile-based games, it might be useful to have only 1 terrain tile with changeable texture/properties. This article is about how to achieve a live preview in the editor just by changing a dropdown value!
Use enums
Godot provides a loosely typed enums system. Exposing it to the editor with the new @export annotation creates a neat dropdown!
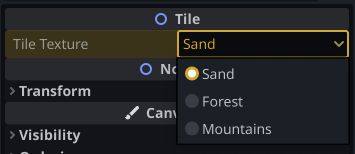
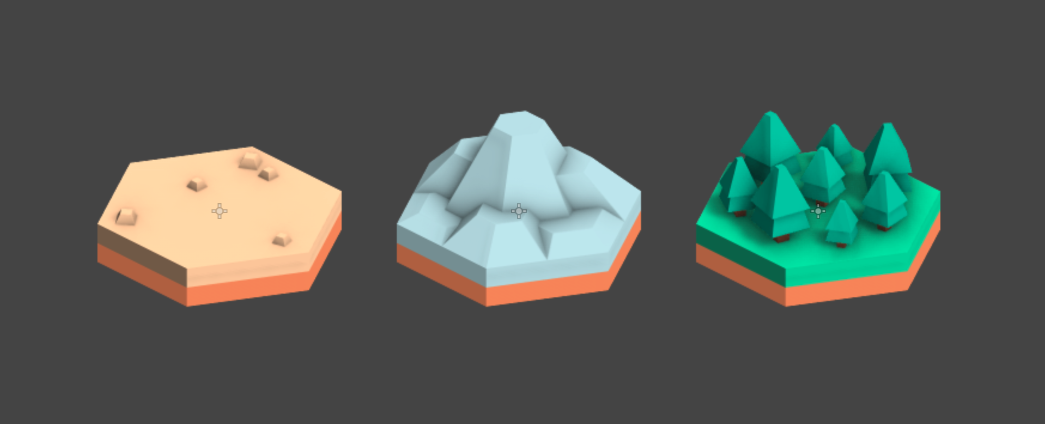
Let’s create an enum for our tiles and variable of that type. My tile options are Sand, Forest, and Mountain - as seen in the image above.
enum TileTexture { SAND, FOREST, MOUNTAINS }
@export
var tileTexture: TileTexture = 0:
	get: return tileTexture
	set(value):
		tileTexture = value
		update_texture()
This setup creates a neat dropdown with the enum items for us to choose from!

Update in the variable setter
The whole point of this approach is, that we want to set only the enum value - the rest should be handled elsewhere.
In the setter of the tileTexture variable, we call a update_texture method. That is where you actually apply the changes according to the new value.
Mine is just a simple texture update:
@onready
var sprite = $Sprite2D

const textures = {
	TileTexture.SAND: "res://HexTiles/sand_rocks_SE.png",
	TileTexture.FOREST: "res://HexTiles/grass_forest_SE.png",
	TileTexture.MOUNTAINS: "res://HexTiles/stone_hill_SE.png",
}

func update_texture():
	if (sprite != null && textures[tileTexture] != null):
		sprite.texture = load(textures[tileTexture])
Run in the editor
Finally - the most important part.
Put a
@toolannotation at the top of the file!
It really is that simple! This keyword makes the script run not only in the game but also in the editor. You can make all kinds of cool plugins with it!
This is what the top of the file looks like:
@tool
extends Node2D
# ...
Now the change of the enum is immediately visible inside the editor with all side effects and animations.
Thanks for reading! ❤️
Hex tiles in the thumbnail by Kenney
